
Tetsuo Koyama’s woodblock print dyeing technique
I will write about Tetsuo Koyama’s woodblock print dyeing technique. Tetsuo will bring traditional dyeing tools and materials for his five-day workshop on Vancouver Island in November, 2014. I will introduce some of them here, too.
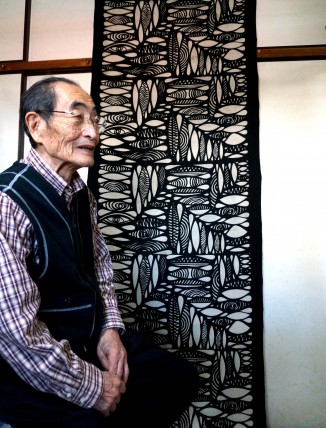
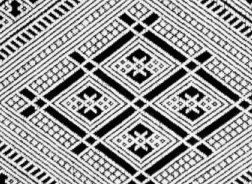
Tetsuo uses Japanese magnolia or cherry to make his woodblocks. He carves dozens of small woodblocks to print one piece of kimono. Depending on the design, each woodblock is carved differently; for example the image above is composed of 9 different woodblocks:
![]()
![]()
![]()
![]()
![]()
![]()
![]()
![]()
![]()
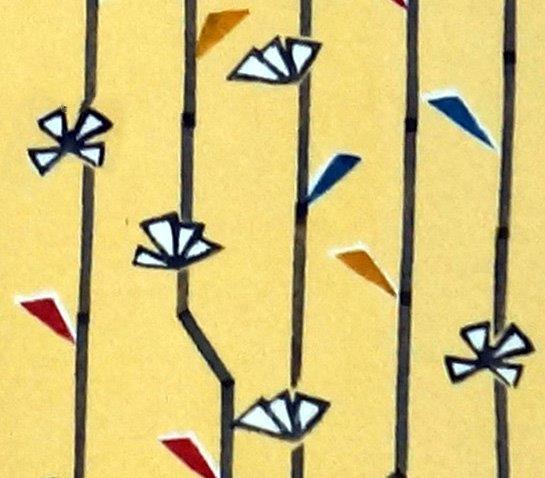
When you apply different colors with the same shape of woodblock, like ![]()
![]()
![]() , use of a different woodblock is recommended to avoid contamination of colors.
, use of a different woodblock is recommended to avoid contamination of colors.
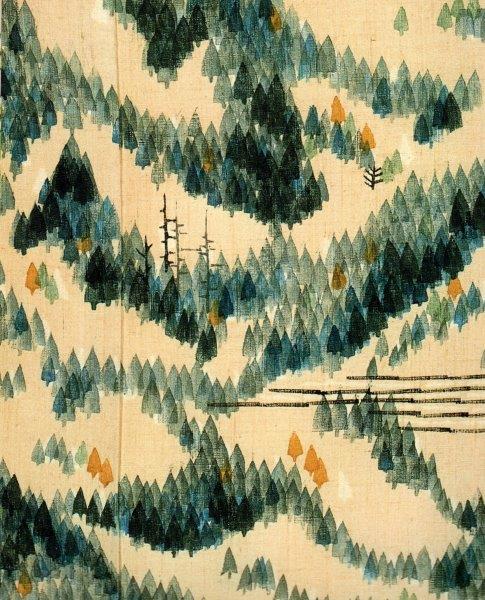
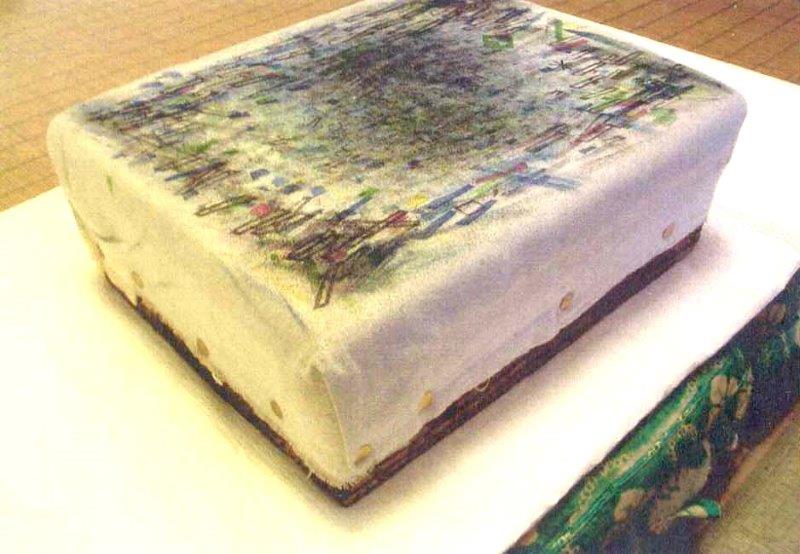
Wide or tall patterns can be printed by repeatedly printing with a small woodblock multiple times. There are various ways of repeating patterns or overlapping colors to create desired effects. In the photo above the single pattern ![]() is printed many times to depict the scenery of woods.
is printed many times to depict the scenery of woods.
Tetsuo creates each woodblock and prints them on a fabric. When he finishes printing patterns he steams the fabric to stabilize and brighten the colors before painting the background.
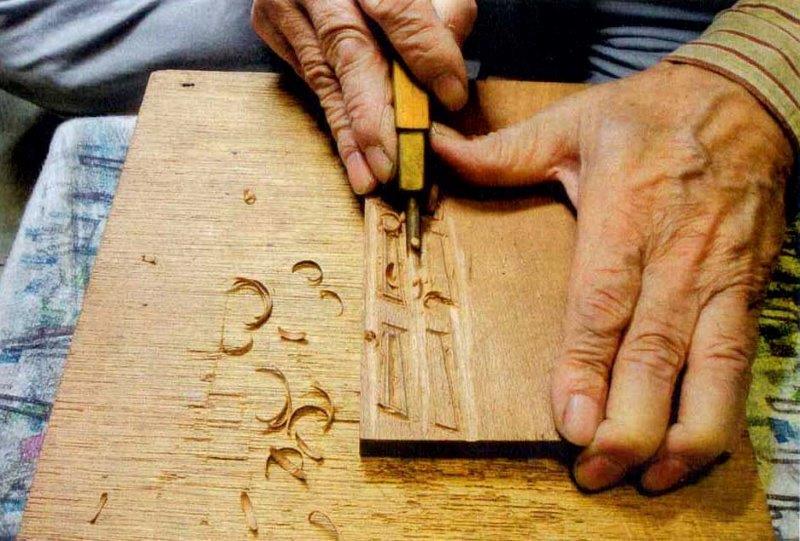
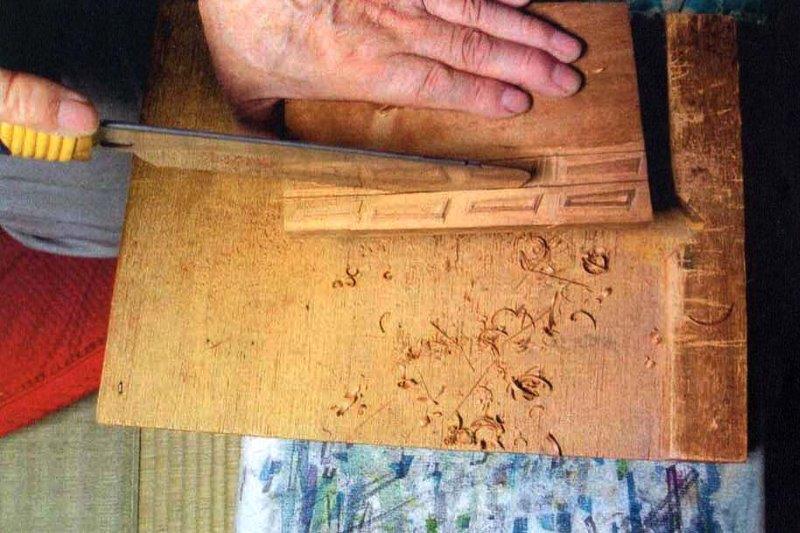
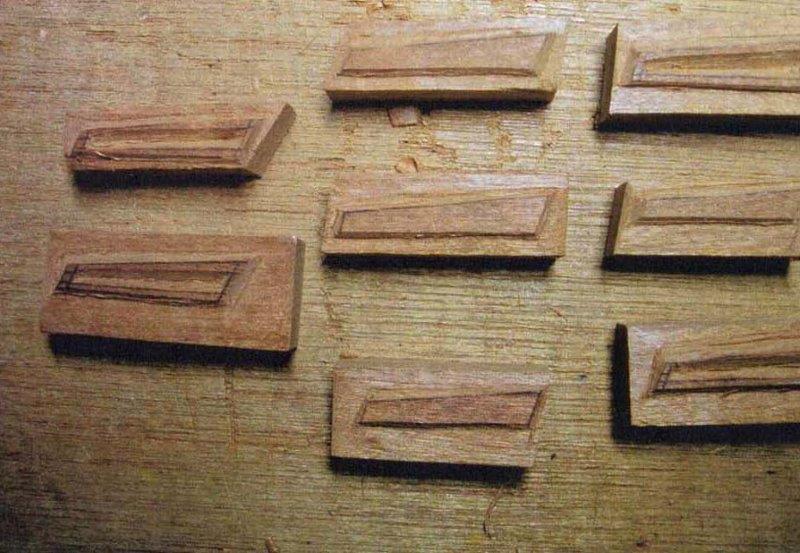 Tetsuo carves the wooden board and cuts them into each woodblock
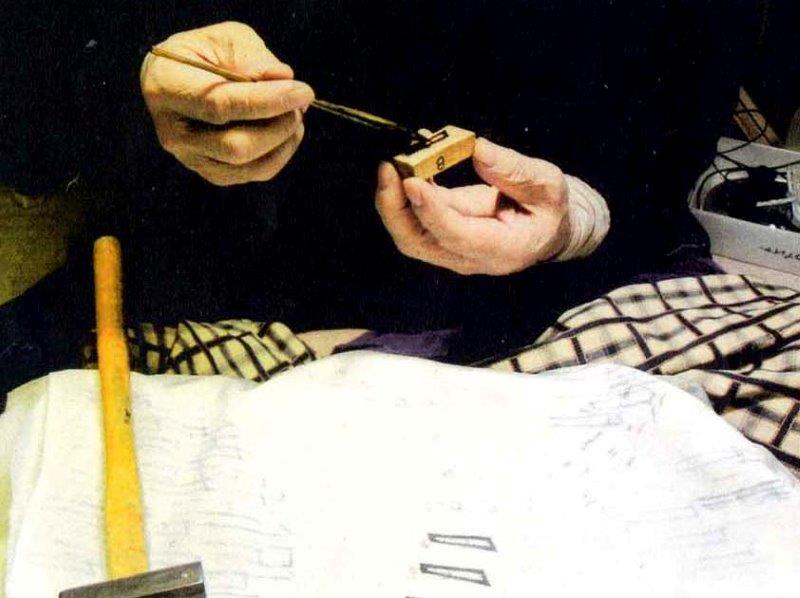
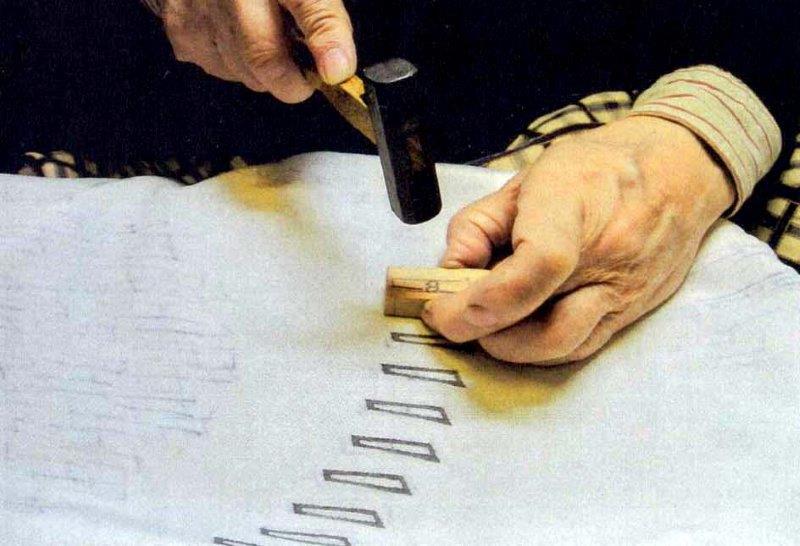
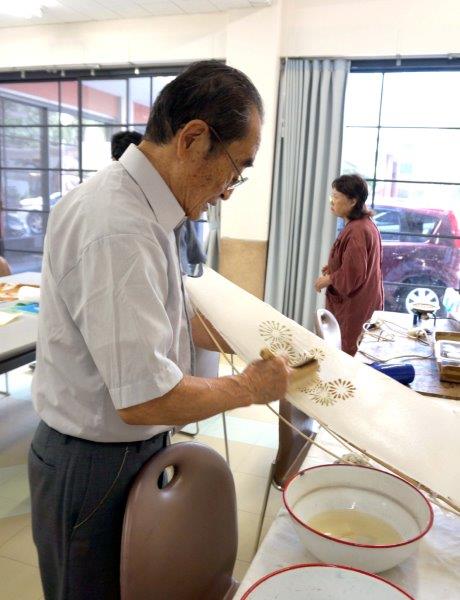
Tetsuo paints each woodblock with dyes and prints them on the fabric applying pressure using a hammer.
Platform for printing.
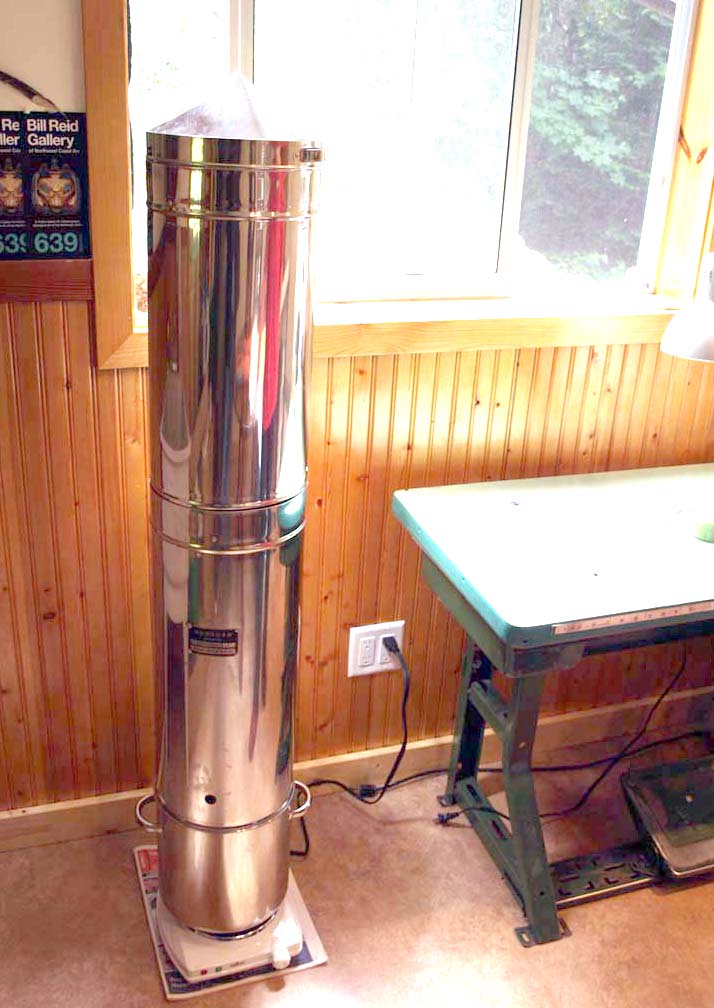
Japanese metal steamer
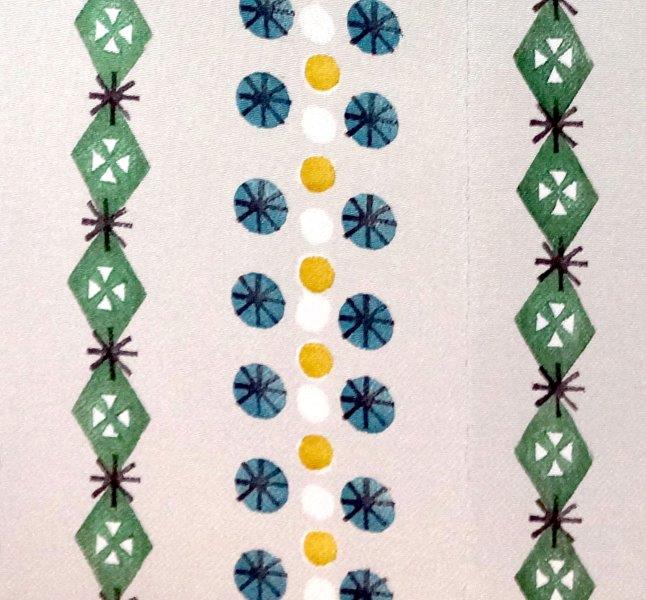
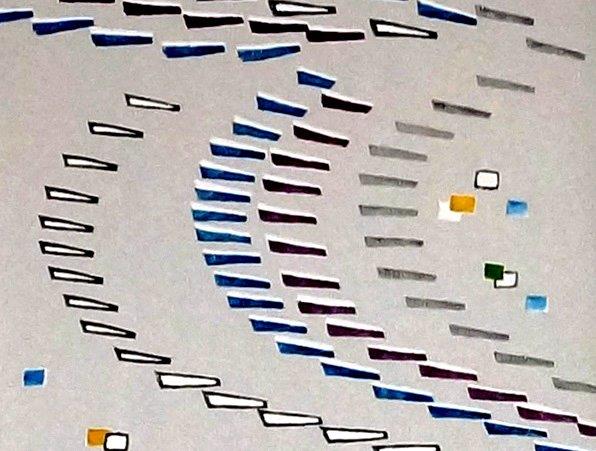
After the steaming process, Tetuso stretches the fabric with bamboo bars called “shinshi”. The printed patterns are masked over with rice glue resist to dye background with a dyeing brush. Rice glue resist can also create patterns in white, which is the original fabric color; in the photo above, the four white triangles in the green argyles and the white circles are created by the original fabric color.
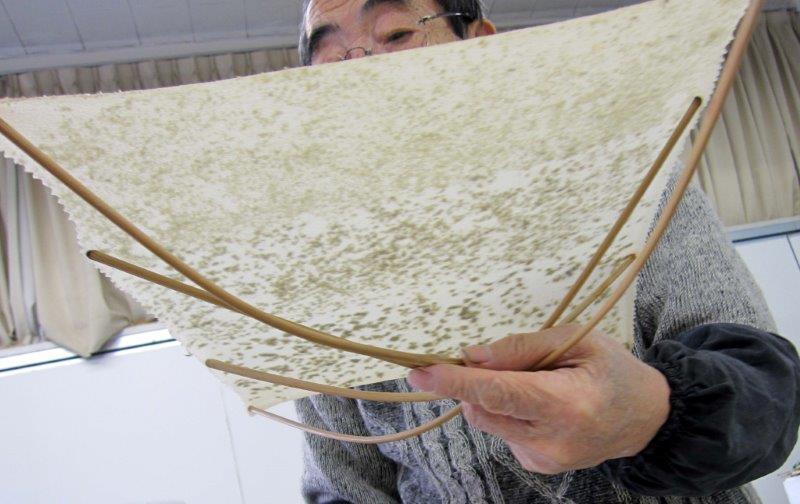
Pins on the both sides of shinshi bars stick into and stretch the fabric. The bars are held by the left hand. Shinshi bars help the dyes to dry evenly and quickly.
 Tetsuo holds shinshi bars with his left hand, and paint the background with his right hand.
Rice glue resist was introduced by Yuzensai (1654-1736) and it has been used for a long time by yuzen dyeing artisans.
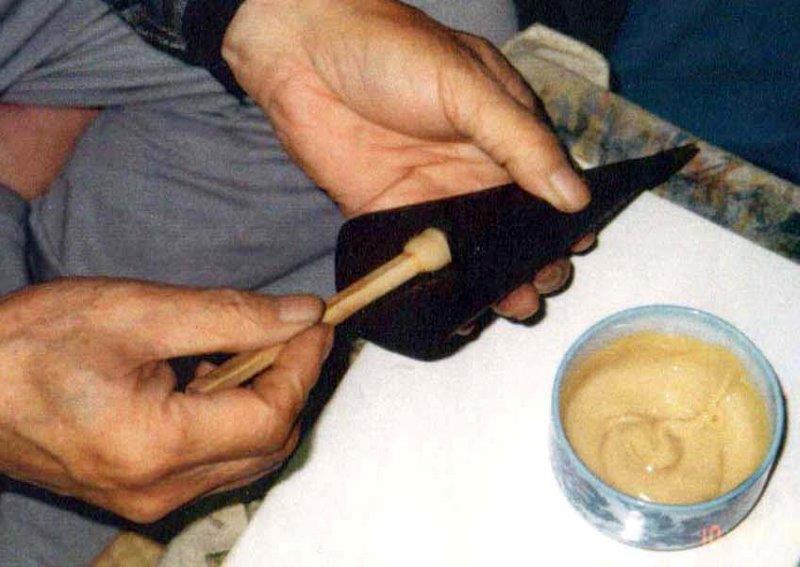
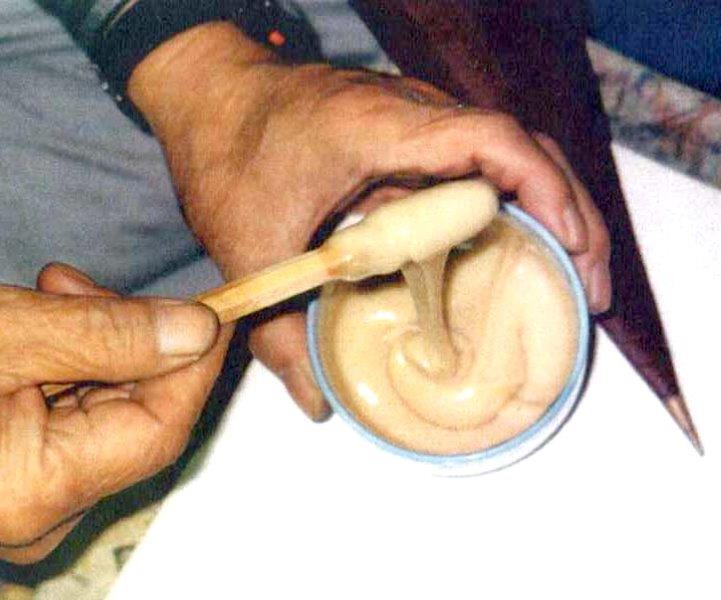
Rice glue is applied with a tube, “nori-zutsu” made from smoked Japanese rice paper.
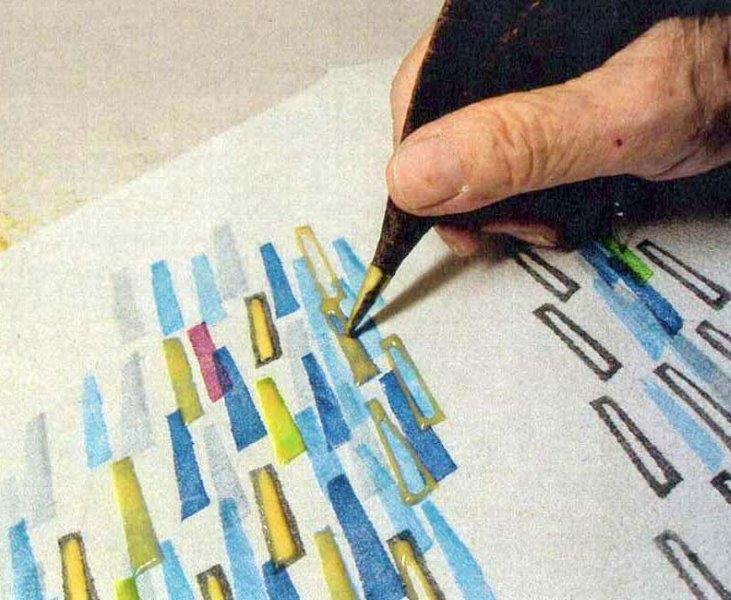
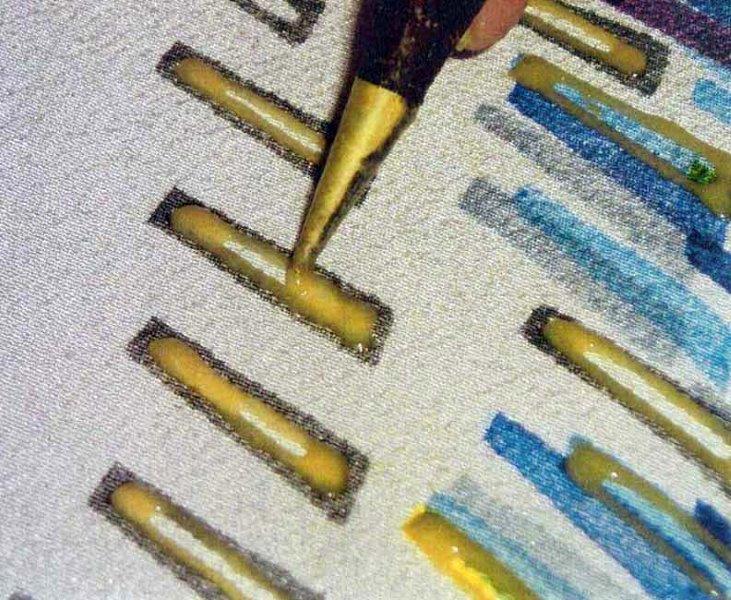
Applying rice glue resist. In the photo on the right the resist is placed inside the rectangular pattern in order to leave them white. The small metal tube on the tip is called “saki-gane”
The finished fabric is steamed again and then washed with running water to remove the rice glue.
Leave a Reply